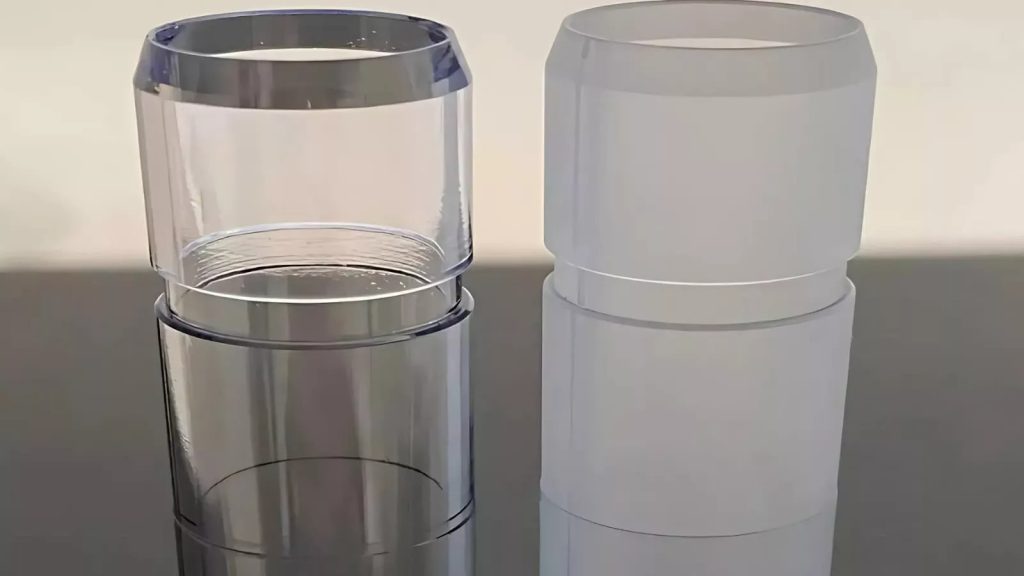
Have you ever wondered how to achieve a flawless, glossy finish on plastic parts, especially when surface imperfections aren’t immediately visible? Vapor polishing is one effective technique for achieving high clarity and a smooth, transparent surface.
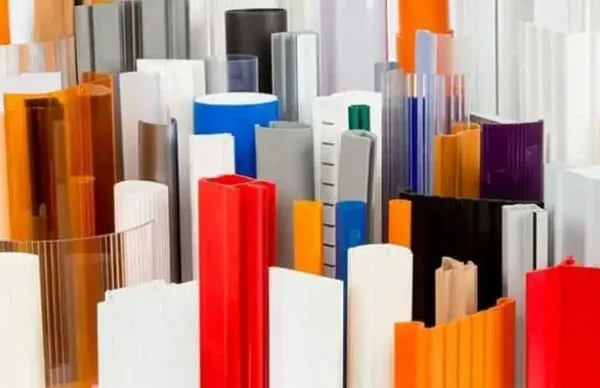
Vapor polishing achieves high levels of transparency in plastic materials. It is valuable to utilize plastic to create lightweight optical lenses.
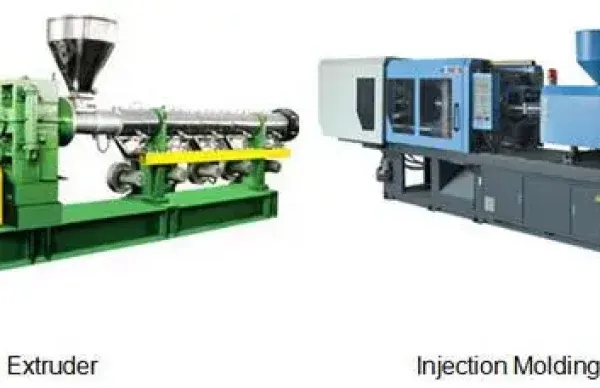
Now, let’s go into detail regarding smoothing, how to smooth plastic, and how it produces clear parts utilizing vacuum casting or injection molding.
What’s Vapor Polishing?
Vapor polishing involves the conversion of a solvent into a vapor, which is then sprayed on the product or part being subjected to surface finishing with the help of a pressurized air stream. This product’s surface undergoes melting once the solvent reacts with it, thereby making it more scratch-resistant and smoother.
Furthermore, vapor smoothing is a unique technique that aids in enhancing the properties of different materials, including polycarbonate and acrylic. Also, it helps in improving the surface finishes on the external and internal surfaces and is very useful in polishing small parts.
In addition, you can use this method for smoothing internal features like apertures, threads, and channels, where manual polishing would have been difficult
The Vapor Polishing Process: How Does It Work?
With vapor polishing, you can be sure of an efficient and effective way to have a smooth surface finish on different materials. It utilizes a finishing agent as well as a controlled chemical melting to arrive at the expected outcome. In addition, it is important to maintain proper pressure and temperature control throughout the process.
Let’s continue by explaining the vapor polishing process:
Step 1: This involves placing the workpiece in a sealed chamber with a finishing agent like FA 326. This agent usually works for different plastic materials. However, you can make use of different agents depending on whatever material you are working on.
Step 2: While the workpiece is in the polishing chamber, heat the agent to the desired temperature, which will create a vapor to surround the part. It is important to maintain pressure and temperature control to ensure uniform distribution of vapor across the surface.
Step 3: Here, vapor holds onto the part’s surface, which creates a chemical melt. The melt helps in reducing the surface’s valleys and peaks through the liquefying and redistribution of the material to clear the surface roughness.
Step 4: The material gets a better shine and luster, which is possible due to the chemical melt. The enhancement of the shine is dependent on the finishing agent and processing materials.
Step 5: Immediately after the agent completes its task, you heat the polishing chamber to take out the finishing agent and vapor. The workpiece left will be residue-free, with no material removed through the process.
Step 6: After completing the process, the workpiece may undergo other processes such as spray painting, dyeing, and other surface treatments.